Godot Limbo AI Behavior Tree #1
This article is the first in a series of articles about behavior trees. I will be trying to create a simple game by using Godot and LimboAI.
You can check out the game here:
![]()
What is a Behavior Tree?
A behavior tree is a hierarchical decision-making structure used in artificial intelligence programming. It consists of composite nodes (like selectors and sequences) and leaf nodes (actions and conditions) arranged in a tree topology. The tree is traversed depth-first, with each node returning a success, failure, or running status that determines the flow of execution. This architecture enables complex AI behaviors to be broken down into smaller, reusable components while maintaining readable and maintainable code.
LimboAI
LimboAI is a behavior tree plugin for Godot. It is a powerful tool for creating complex AI behaviors.
Installing LimboAI can be done through the AssetLib button in the top middle area of the editor.

Locate the search field and type in LimboAI
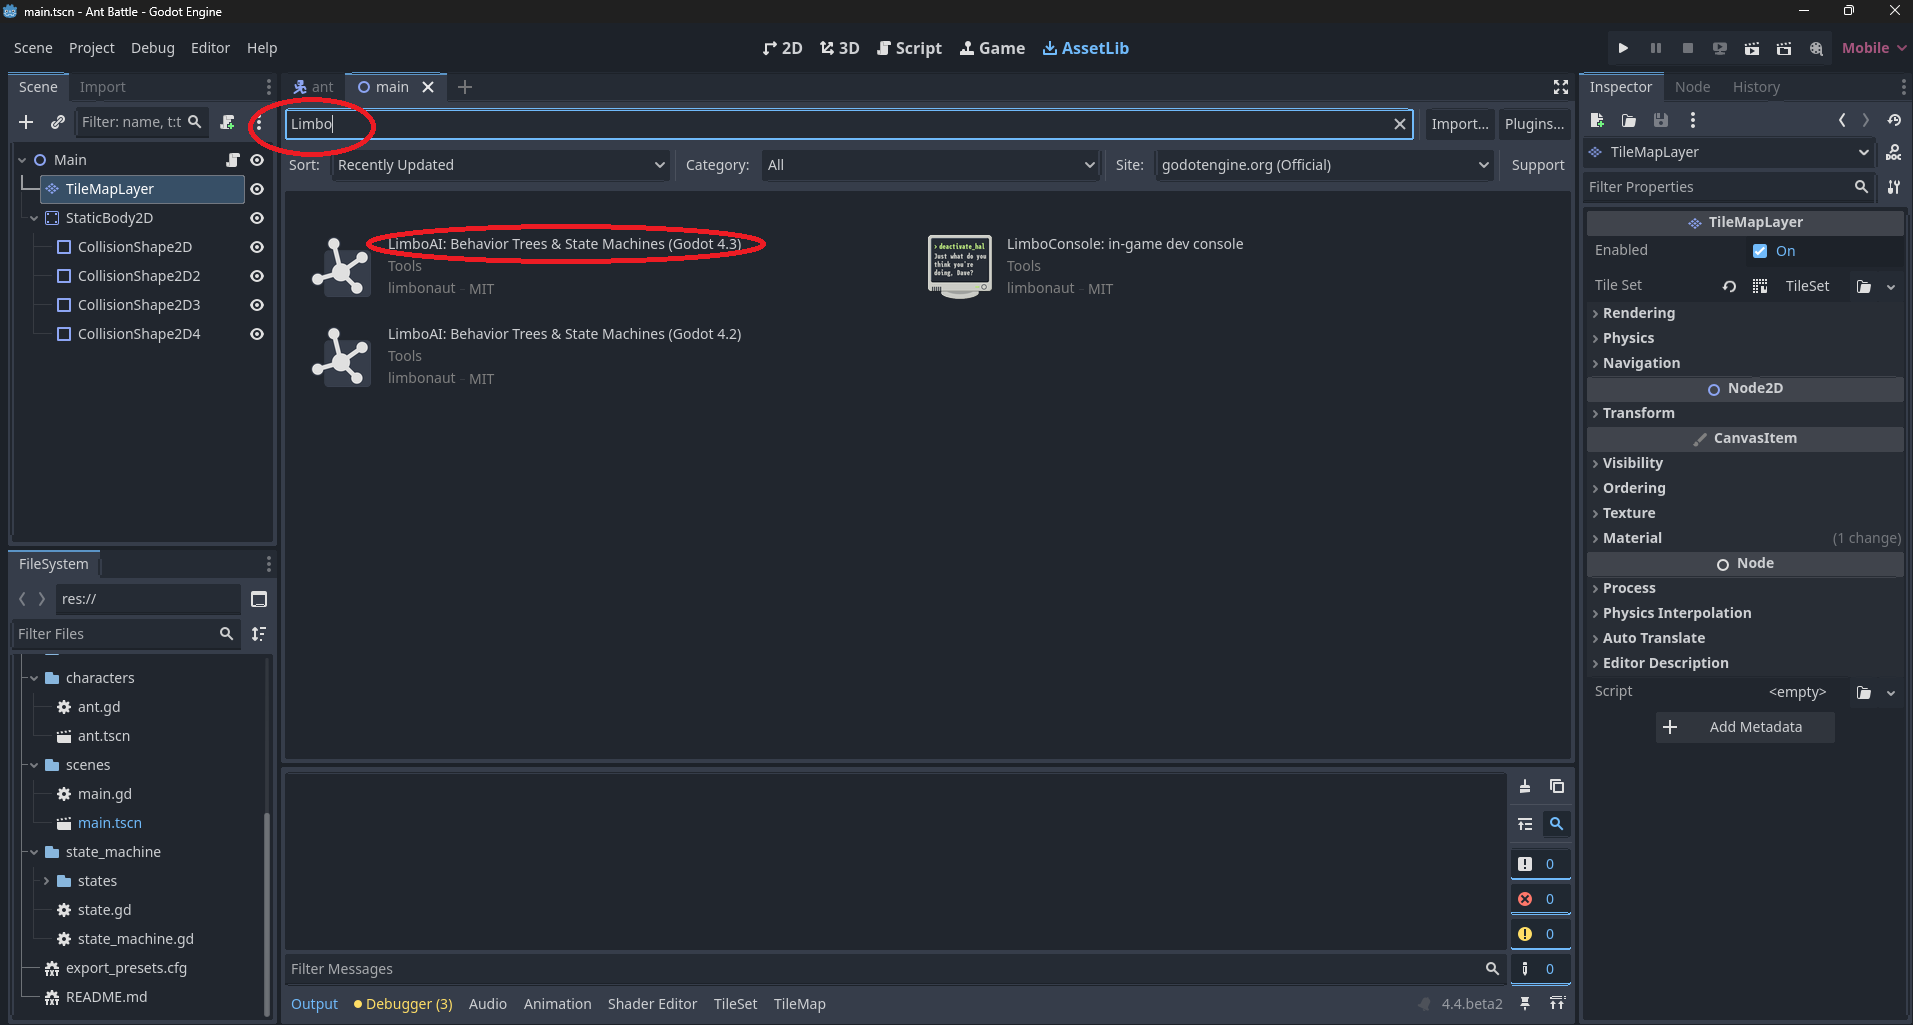
Choose LimboAI: Behavior Trees and State Machines (Godot 4.3)
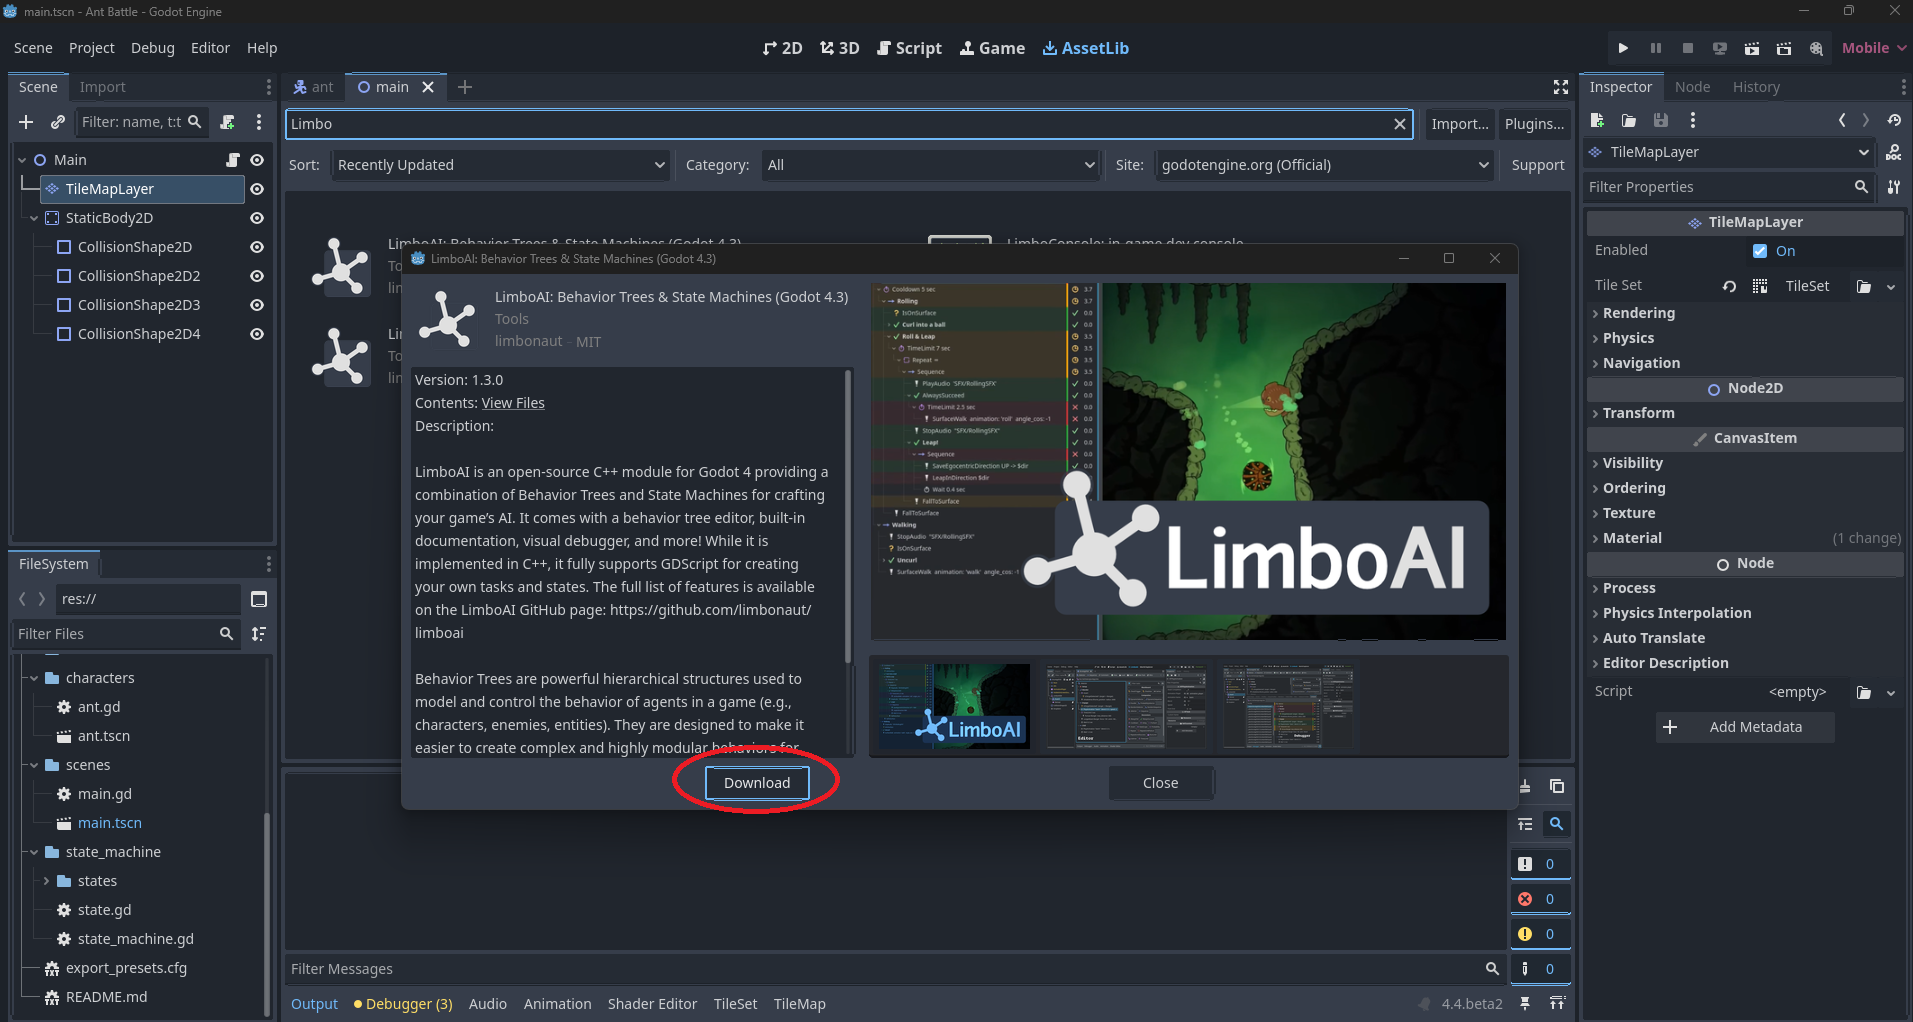
Then click Download
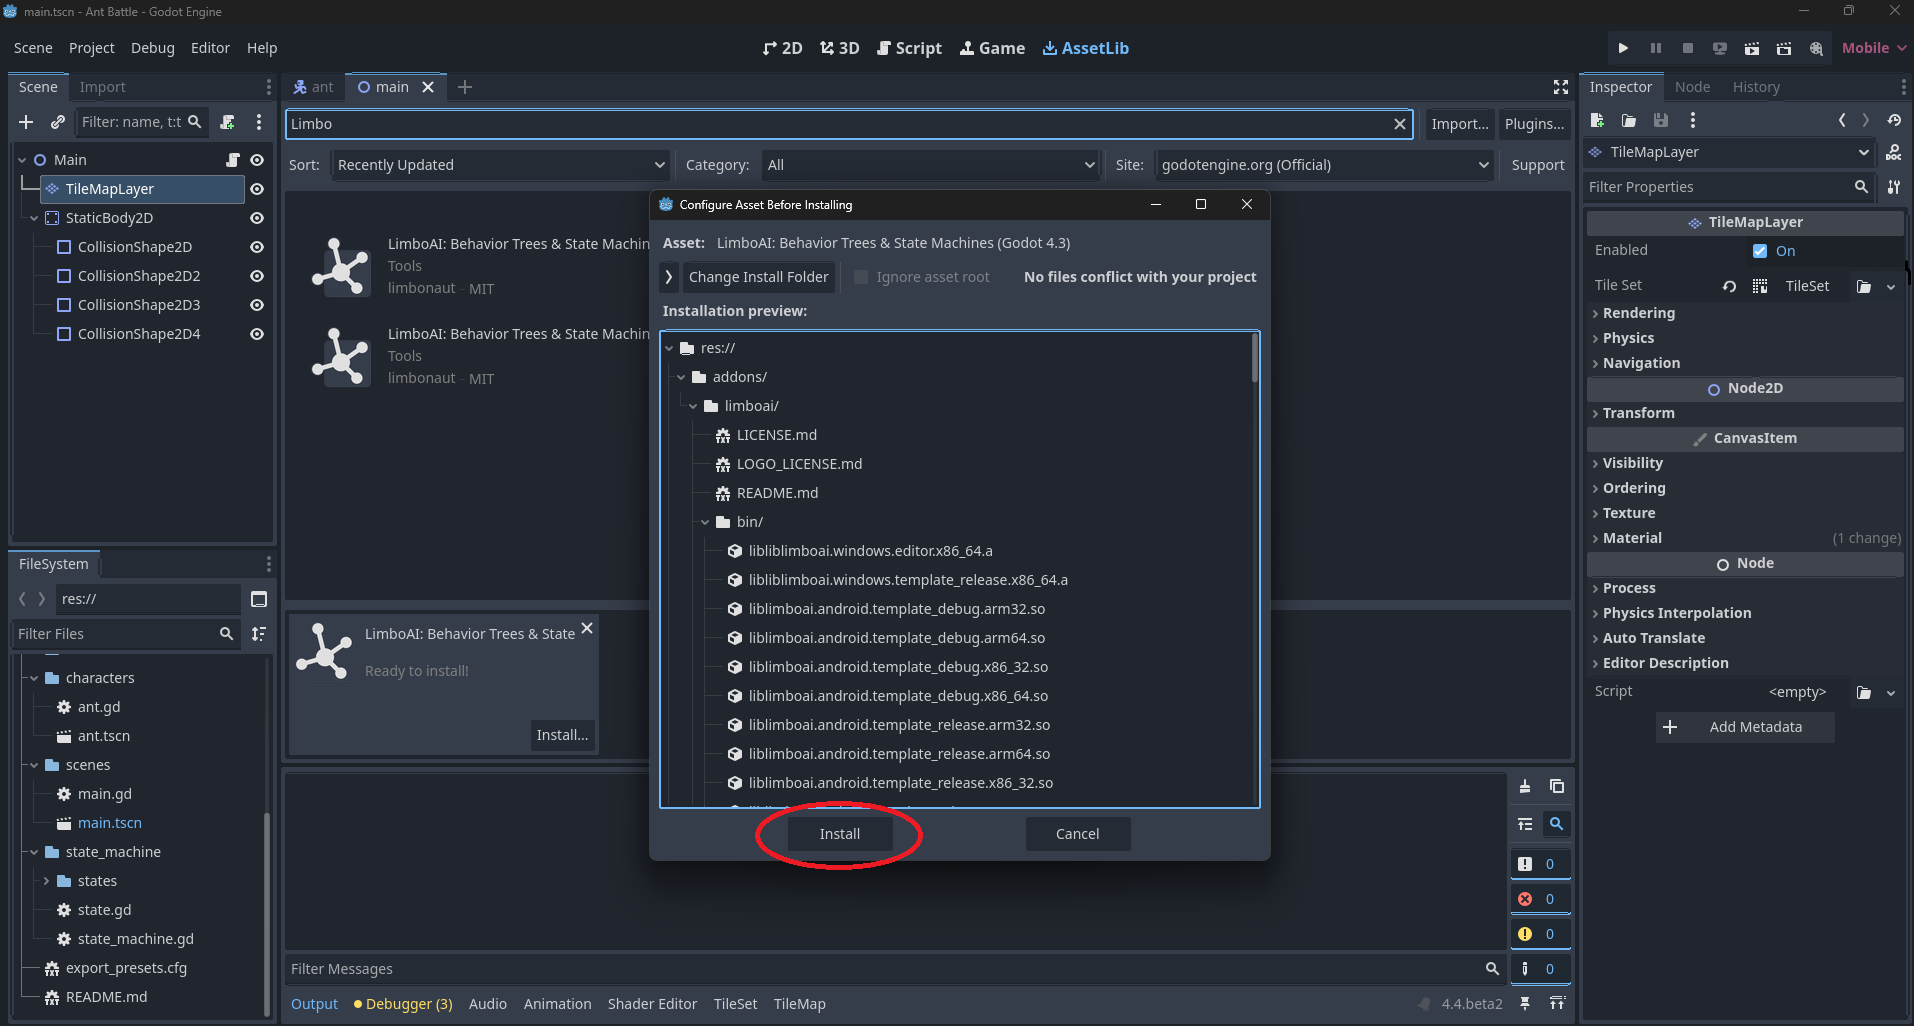
Then click Install
Creating A Tree

You can add tasks or child nodes to the tree to the right of the editor.
Selector
A selector is a node that will return success if any of its children return success. This will be the root node of our tree. We will add all other nodes under this node.
Sequence
A sequence is a node that will return success if all of its children return success. This will be the root node of our tree. We will add all other nodes under this node.
Console Print for debug
A console print is a node that will print a message to the console. This will be the root node of our tree. We will add all other nodes under this node.
Wait 0.5 to 2 seconds
A wait is a node that will return success after a certain amount of time. This will be the root node of our tree. We will add all other nodes under this node.
Creating A New Task

Choose Random Screen Position
This is a task that will choose a random screen position and set it in the blackboard.
extends BTAction


@export var position_var: StringName = &"pos"

func _tick(_delta: float) -> Status:
	var viewport_size = agent.get_viewport().get_visible_rect().size
	var pos = Vector2(
		randf_range(0, viewport_size.x),
		randf_range(0, viewport_size.y)
	)
	blackboard.set_var(position_var, pos)
	return SUCCESS
Move to Position
This is a task that will move the agent to a specific position. Once it reaches the position, it will return success.
extends BTAction

@export var target_pos_var := &"pos"

@export var tolerance = 10


func _tick(delta: float) -> Status:
	var target_pos: Vector2 = blackboard.get_var(target_pos_var, Vector2.ZERO)
	var direction = (target_pos - agent.global_position).normalized()
	agent.move_to(direction, delta)
	if agent.global_position.distance_to(target_pos) < tolerance:
		return SUCCESS
	return RUNNING
Ant AI Code
This is the code for the ant AI.
class_name AntAI extends CharacterBody2D

@export var move_speed = 10
@export var agro_distance = 50

var target: CharacterBody2D
var hp: int = 1

func _ready():
	hide()

func spawn(pos):
	position = pos
	show()

func add_hp(amount: int):
	hp += amount
	if hp <= 0:
		die()
	scale += Vector2(amount * .1, amount * .1)

func die():
	queue_free()

func move_to(direction, delta):
	velocity = direction * move_speed
	rotation = lerp_angle(rotation, direction.angle(), delta * move_speed)
	var collision = move_and_collide(velocity * delta)
	if collision:
		_handle_collisions()

func _handle_collisions():
	pass
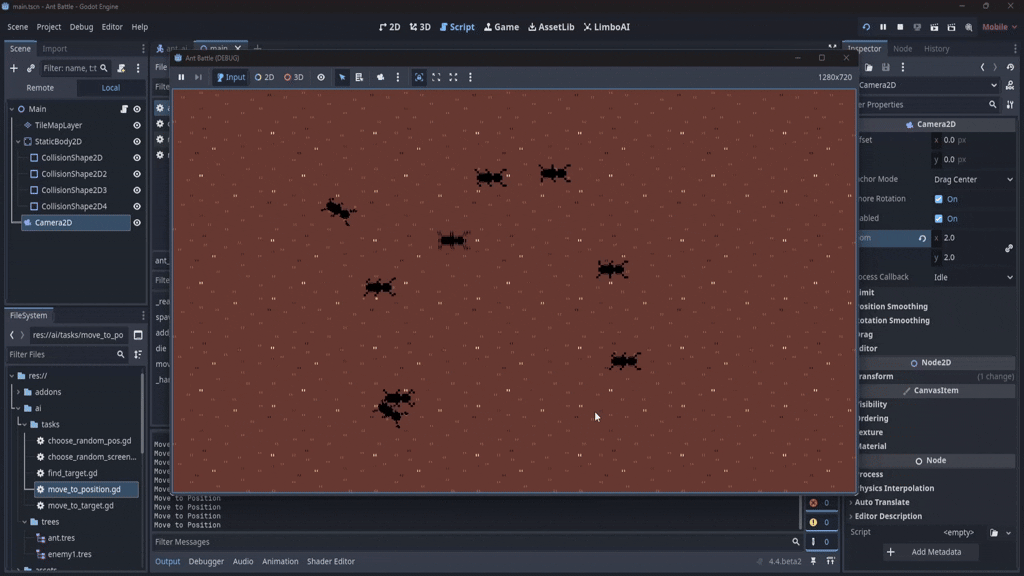
Ant Battle Demo
Conclusion
In this article, we created a simple behavior tree for an ant AI. We added a selector, sequence, console print, and wait node. We also created a new task that will choose a random screen position and set it in the blackboard.
In the next article, we will add more nodes to the tree and create a more complex AI.