NextJS User Signup Form
In this article, we'll walk through creating a complete user signup system in NextJS. We'll build a clean, responsive form with client-side validation, connect it to server actions for processing, and implement email verification. This approach provides a secure and user-friendly registration experience that follows modern web development best practices.
This article is part of a series on authentication in NextJS applications:
- User Signup Form (this article)
- Server Actions for User Signup (coming soon)
- User Login Form (coming soon)
- User Authentication (coming soon)
Let's get started by creating our signup form with validation and a clean user interface.
1. Layout
First let's create a layout. Technically you don't have to create a layout, but since I want to use the same layout for the signup and login page, I will create one. It shows the branding on the left and the actual page on the right.
If you would like to know more about NextJS pages and layouts you can view the docs here:
https://nextjs.org/docs/app/getting-started/layouts-and-pages
We will also being using Tailwind 4 to style our components. Later in the article it will use ShadCN which uses tailwind.
import Link from "next/link";

export default function RootLayout({
  children,
}: Readonly<{
  children: React.ReactNode;
}>) {
  return (
    <div className="min-h-screen dark:bg-background bg-linear-to-b from-foreground dark:via-slate-700 via-slate-600 to-foreground">
      <div className="flex items-center justify-center min-h-screen p-4">
        <div className="w-full max-w-4xl overflow-hidden rounded-2xl">
          <div className="grid grid-cols-1 md:grid-cols-2">
            <div className="relative hidden md:flex items-center justify-center dark:bg-card bg-card-foreground p-8">
              <div className="absolute inset-0 bg-[url('/grid.svg')] opacity-20" />
              <div className="relative space-y-6 text-center">
                <h1 className="text-4xl font-bold dark:text-card-foreground text-card tracking-tight">
                  <Link href="/">Website Name</Link>
                </h1>
                <div className="mx-auto h-28 w-28 rounded-xl bg-white/10 p-4 ring-2 ring-white/30">
                  <svg
                    className="h-full w-full dark:text-card-foreground text-card"
                    viewBox="0 0 24 24"
                    fill="none"
                    stroke="currentColor"
                  >
                    <rect
                      x="2"
                      y="3"
                      width="20"
                      height="14"
                      rx="2"
                      strokeWidth="1.5"
                    />
                    <path d="M2 7h20" strokeWidth="1.5" />
                    <rect x="4" y="9" width="16" height="6" strokeWidth="1.5" />
                    <path d="M8 20h8" strokeWidth="1.5" />
                    <path d="M12 17v3" strokeWidth="1.5" />
                    <circle cx="5" cy="5" r="0.5" fill="currentColor" />
                    <circle cx="8" cy="5" r="0.5" fill="currentColor" />
                    <circle cx="11" cy="5" r="0.5" fill="currentColor" />
                  </svg>
                </div>
                <div className="space-y-2">
                  <h2 className="text-2xl font-bold dark:text-card-foreground text-card">
                    Join Our Developer Community
                  </h2>
                  <p className="text-sm dark:text-card-foreground/80 text-card max-w-sm mx-auto">
                    Connect with fellow developers, access exclusive resources,
                    and stay up to date with the latest in development
                  </p>
                </div>
              </div>
            </div>
            <div className="p-4 md:p-8 bg-card">
              <div className="md:hidden mb-8 text-center">
                <h1 className="text-3xl font-bold dark:text-card-foreground text-card mb-2">
                  <Link href="/">Website Name</Link>
                </h1>
                <p className="text-sm dark:text-card-foreground/80 text-card/80">
                  Join our developer community
                </p>
              </div>
              {children}
              <div className="mt-6 text-center text-xs text-card-foreground/80">
                <p>
                  © {new Date().getFullYear()} {website.shortUrl}. All rights
                  reserved.
                </p>
                <div className="mt-1 flex justify-center gap-4">
                  <Link href="/privacy" className="text-card-foreground/80">
                    Privacy Policy
                  </Link>
                  <Link href="/terms" className="text-card-foreground/80">
                    Terms of Service
                  </Link>
                </div>
              </div>
            </div>
          </div>
        </div>
      </div>
    </div>
  );
}
2. Signup Page
Second let's create a page that will set some meta data and then show the client component for the signup form.
This will set the meta data for the title and description of the page. Also it will make sure that search engines wont index the page.
import { Metadata } from "next";
import { SignupForm } from "./_components/SignupForm";

export const metadata: Metadata = {
  title: `Sign Up`,
  description: "Create a new account",
  robots: {
    index: false,
    follow: false,
  },
};

export default function SignupPage() {
  return <SignupForm />;
}
Signup Form
Now let's create the signup form. We will be using ShadCN, React Hook Form, and Zod for form validation.
On form submit it will call a server action that we will build in the next article. For now this is just the front end form component.
"use client";

import { useActionState, startTransition } from "react";
import Link from "next/link";
import { z } from "zod";
import { useForm } from "react-hook-form";
import { zodResolver } from "@hookform/resolvers/zod";
import { Button } from "@/components/ui/button";
import { Input } from "@/components/ui/input";
import { Label } from "@/components/ui/label";
import {
  Form,
  FormControl,
  FormField,
  FormItem,
  FormLabel,
  FormMessage,
} from "@/components/ui/form";

const signupSchema = z
  .object({
    email: z.string().email("Invalid email address"),
    password: z.string().min(6, "Password must be at least 6 characters"),
    confirmPassword: z.string(),
  })
  .refine((data) => data.password === data.confirmPassword, {
    message: "Passwords do not match",
    path: ["confirmPassword"],
  });

type SignupFormData = z.infer<typeof signupSchema>;

interface FormState {
  error?: string;
  success?: boolean;
}

export function SignupForm() {
  const form = useForm<SignupFormData>({
    resolver: zodResolver(signupSchema),
    defaultValues: {
      email: "",
      password: "",
      confirmPassword: "",
    },
  });

  const [state, formAction, isPending] = useActionState<
    FormState | null,
    FormData
  >(async (prevState, formData) => {
    try {
      const email = formData.get("email") as string;
      const password = formData.get("password") as string;

      // This is where we will call our server action that we will build in the next article.
      // await handleSignupForm(email, password);
      return { success: true };
    } catch (error) {
      return { error: "There was an error signing up." };
    }
  }, null);

  const onSubmit = (data: SignupFormData) => {
    const formData = new FormData();
    formData.append("email", data.email);
    formData.append("password", data.password);
    startTransition(() => {
      formAction(formData);
    });
  };

  return (
    <div className="min-h-[500px] px-8 py-6 flex flex-col items-center justify-center text-card-foreground">
      <div className="w-full max-w-md">
        <h1 className="text-2xl font-bold text-center mb-6 ">Sign Up</h1>
        {state?.error && (
          <div className="mb-4 p-3 rounded bg-red-100 border border-red-400 text-red-700">
            {state.error}
          </div>
        )}
        {state?.success ? (
          <div className="mb-4 p-3 rounded bg-green-100 border border-green-400 text-green-700">
            Success! Please check your email inbox to confirm your account.
          </div>
        ) : (
          <Form {...form}>
            <form onSubmit={form.handleSubmit(onSubmit)} className="space-y-4">
              <FormField
                control={form.control}
                name="email"
                render={({ field }) => (
                  <FormItem>
                    <FormLabel>Email</FormLabel>
                    <FormControl>
                      <Input
                        type="email"
                        placeholder="you@example.com"
                        {...field}
                      />
                    </FormControl>
                    <FormMessage />
                  </FormItem>
                )}
              />
              <FormField
                control={form.control}
                name="password"
                render={({ field }) => (
                  <FormItem>
                    <FormLabel>Password</FormLabel>
                    <FormControl>
                      <Input
                        type="password"
                        placeholder="••••••••"
                        {...field}
                      />
                    </FormControl>
                    <FormMessage />
                  </FormItem>
                )}
              />
              <FormField
                control={form.control}
                name="confirmPassword"
                render={({ field }) => (
                  <FormItem>
                    <FormLabel>Confirm Password</FormLabel>
                    <FormControl>
                      <Input
                        type="password"
                        placeholder="••••••••"
                        {...field}
                      />
                    </FormControl>
                    <FormMessage />
                  </FormItem>
                )}
              />
              <Button type="submit" className="w-full" disabled={isPending}>
                Create Account
              </Button>
            </form>
          </Form>
        )}
        <p className="mt-4 text-center text-sm ">
          Already have an account?{" "}
          <Link
            href="/login"
            className="text-primary hover:text-primary/80 dark:text-primary dark:hover:text-primary/80"
          >
            Sign in
          </Link>
        </p>
      </div>
    </div>
  );
}
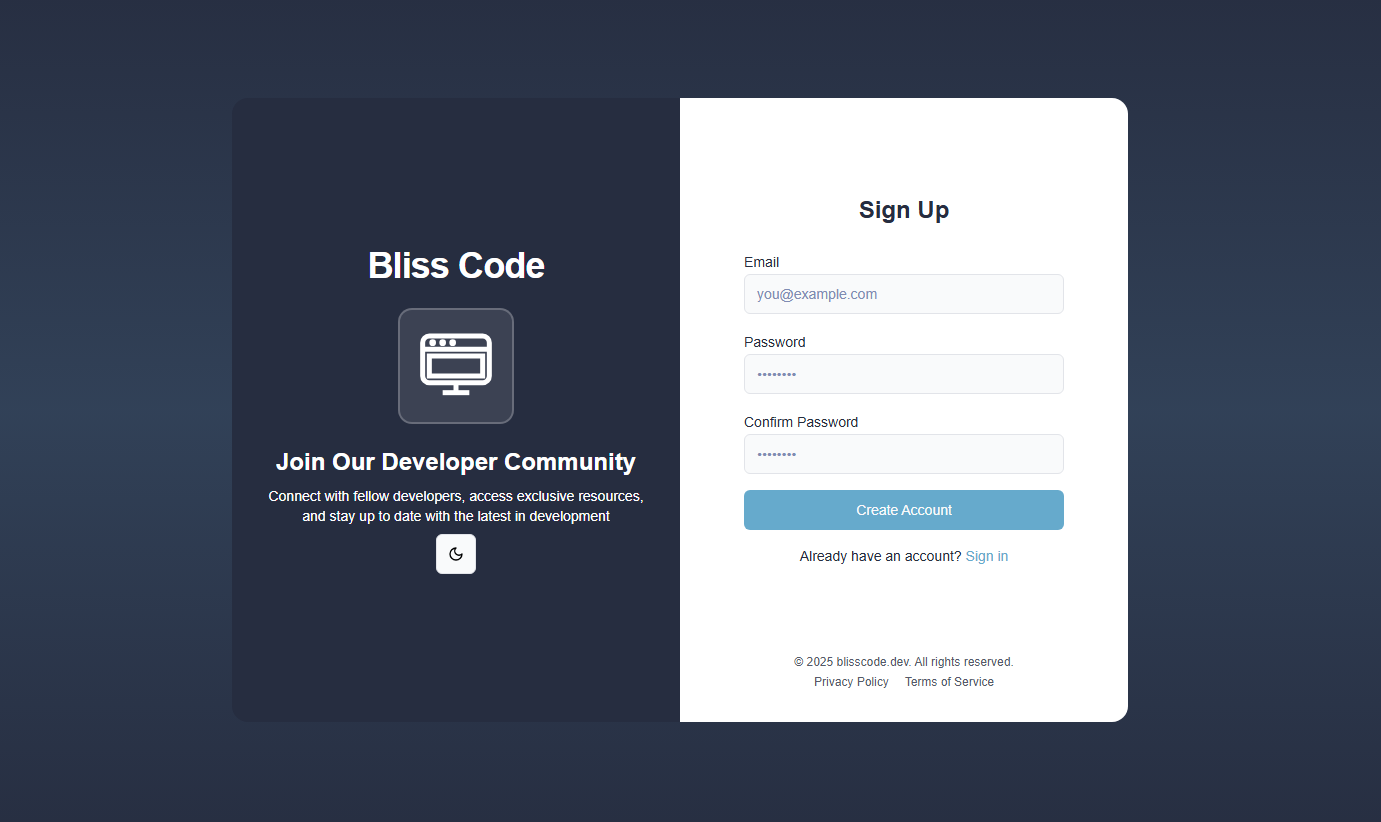
Signup Form Completed
Here is the signup form as a screenshot of what it will look like. The theme and colors maybe be different according to your tailwind and shadcn settings.
Links
For more information on some of the packages I am using you can find them here:
ShadCN UI - Build beautiful and accessible user interfaces with customizable components
React Hook Form - A performant, flexible and extensible forms library with easy-to-use validation
Zod - TypeScript-first schema validation with static type inference
useActionState is a Hook that allows you to update state based on the result of a form action.
useTransition is a React Hook that lets you render a part of the UI in the background.
Conclusion
In this article, we've explored how to build a robust user signup form in Next.js using React Hook Form, Zod validation, and server actions. By combining these powerful tools, we've created a form that provides immediate client-side validation feedback while also handling server-side processing securely. This approach offers a smooth user experience with proper error handling and success states, all while maintaining type safety throughout the application. You can adapt this pattern for various authentication flows in your own Next.js applications, ensuring both security and usability for your users.